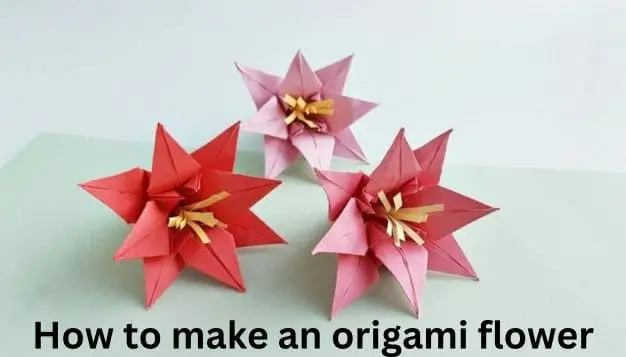
Origami, the ancient Japanese art of paper folding, has captivated people around the world with its simplicity, elegance, and transformative power. Among the myriad of origami creations, the origami flower stands out as a symbol of beauty and nature. Crafting an origami flower is not just a creative endeavor; it’s a meditative and rewarding experience.
In this comprehensive guide, we will explore the step-by-step process of creating an exquisite origami flower, allowing you to immerse yourself in the enchanting world of paper folding.
Materials Needed
Before we delve into the intricate folds and creases that bring an origami flower to life, let’s gather the essential materials:
- Square sheets of origami paper: Choose a variety of colors or patterns to add vibrancy to your creation. The standard size is 6×6 inches, but larger or smaller sheets can be used depending on your preference.
- Work surface: A flat and clean surface will make the folding process smoother. Ensure that there are no sharp edges that could damage the delicate paper.
- Patience and focus: Origami is an art that rewards patience and precision. Take your time and enjoy the process.
Step-by-Step Guide to make an origami flower
- Selecting Your Paper: Begin by choosing the color and size of your origami paper. Traditional choices include vibrant hues for a lively bloom or soft pastels for a more delicate touch.
- Prepping Your Workspace: Lay your selected sheet of origami paper on the work surface with the colored side facing down. If your paper has a distinct color or pattern on one side, this will be the side that shows on the finished flower.
- Creating the Preliminary Folds: a. Fold the paper diagonally, aligning opposite corners to form a triangle. b. Unfold the triangle and repeat the process, folding it in the opposite direction to create a smaller triangle.
- Forming the Square Base: a. Rotate the paper so that the open end of the triangle is facing you. b. Fold the right corner of the triangle to meet the center crease. c. Repeat the same fold with the left corner, forming a diamond shape. d. Flip the paper over and repeat steps b and c.
- Building the Petal Folds: a. Locate the four corners of the diamond. b. Take the top layer of the right corner and fold it towards the center, creating a smaller diamond. c. Repeat the process with the left, top, and bottom corners.
- Finalizing the Flower Bud: a. Fold the right and left edges of the diamond towards the centerline. b. Flip the paper over and repeat the previous step.
- Shaping the Flower: a. Carefully separate the layers of the flower, gently pulling them apart to reveal the petals. b. Adjust the petals to your liking, creating a balanced and visually appealing flower.
- Adding the Finishing Touches: a. Smooth out any creases or folds to refine the appearance of your origami flower. b. If desired, use a small dab of glue to secure the layers in place, ensuring a more permanent and stable structure.
Conclusion
Congratulations! You’ve successfully crafted a stunning origami flower, a testament to your patience, creativity, and precision. The beauty of origami lies not just in the final creation but in the journey of folding and unfolding, of transforming a flat sheet of paper into a three-dimensional work of art. As you continue to explore the world of origami, let this experience be a stepping stone to even more intricate and captivating paper creations. Enjoy the art, embrace the process, and let your imagination blossom with each delicate fold.
