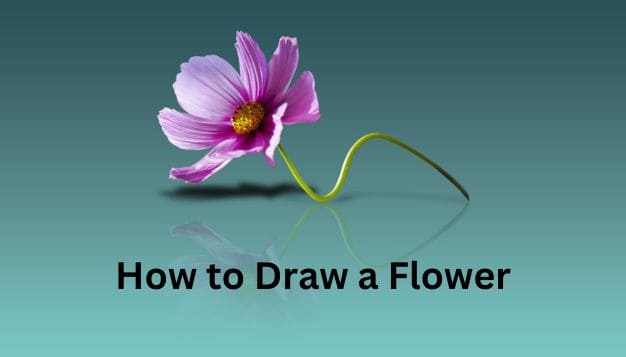
The timeless beauty of flowers has captivated artists throughout history, inspiring countless masterpieces across various art forms. If you’re eager to bring the delicate elegance of flowers to life on paper, this comprehensive guide will walk you through the step-by-step process of How to Draw a Flower with precision and creativity. Whether you’re a novice seeking to explore your artistic side or an experienced artist looking to refine your skills, this tutorial is designed to cater to all skill levels.
Materials Needed to Draw a Flower
Before delving into the intricacies of drawing a flower, gather the necessary materials to ensure a smooth and enjoyable creative process:
- Drawing Paper or Sketchbook: Choose a high-quality paper or sketchbook that accommodates your preferred drawing medium.
- Pencils: Select a range of graphite pencils (2H to 6B) for sketching and shading.
- Eraser: Have a soft eraser for gentle corrections and a kneaded eraser for more precise adjustments.
- Sharpener: Keep a reliable pencil sharpener to maintain a fine point for detailed work.
- Drawing Pens: Consider using fine liners or drawing pens for outlining and adding finer details.
- Coloring Tools (Optional): If you wish to add color to your drawing, have colored pencils, markers, or watercolor paints ready.
Step 1: Observation and Reference
Before putting pencil to paper, take a moment to observe the flower you want to draw. Notice its shape, petal arrangement, and any distinctive features. If possible, gather reference images to guide your drawing. Studying the subject in detail will enhance the accuracy and realism of your illustration.
Step 2: Basic Shapes and Proportions
Begin by lightly sketching the basic shapes that define the flower’s structure. Most flowers can be broken down into simple geometric shapes, such as circles, ovals, and triangles. Pay attention to proportions, ensuring that the sizes and positions of these shapes accurately represent the flower.
Step 3: Outline and Refine
Once you are satisfied with the basic sketch, start outlining the flower with a finer line. Use a sharper pencil or a drawing pen for this step. Pay attention to the contours and curves of the petals, adding details like veins and edges. Refine the shapes as needed, erasing any unnecessary guidelines.
Step 4: Shading and Texture
Bring your flower to life by adding shading to create depth and dimension. Consider the direction of light and shade accordingly. Use a range of pencils to achieve different tones, applying lighter pressure for lighter areas and heavier pressure for shadows. Pay attention to the subtle textures on the petals, replicating them with short, controlled strokes.
Step 5: Focus on Details
Devote time to capturing the finer details of the flower, such as the stamen, pistil, and any unique characteristics. Add intricate lines and textures to mimic the natural intricacies of the flower. This is an opportunity to showcase your attention to detail and elevate your drawing.
Step 6: Background (Optional)
Decide whether you want to include a background in your drawing. A simple background can complement the flower, adding context without distracting from the main subject. Consider using a light wash of color or a subtle texture to enhance the overall composition.
Step 7: Final Touches
Take a step back and assess your drawing as a whole. Make any final adjustments, ensuring that the proportions are accurate and the details are well-executed. Clean up any stray lines and refine the overall composition.
Conclusion
Drawing a flower is a gratifying experience that allows you to express your creativity and appreciation for the beauty of nature. By following these steps and allowing room for your artistic intuition, you can create a stunning floral illustration that reflects both skill and passion. Remember that practice is key, so continue exploring different flowers and techniques to further refine your artistic abilities. Happy drawing!

